Welcome to the first, and most definitely not the last, in our series of How To Paint Tutorials.
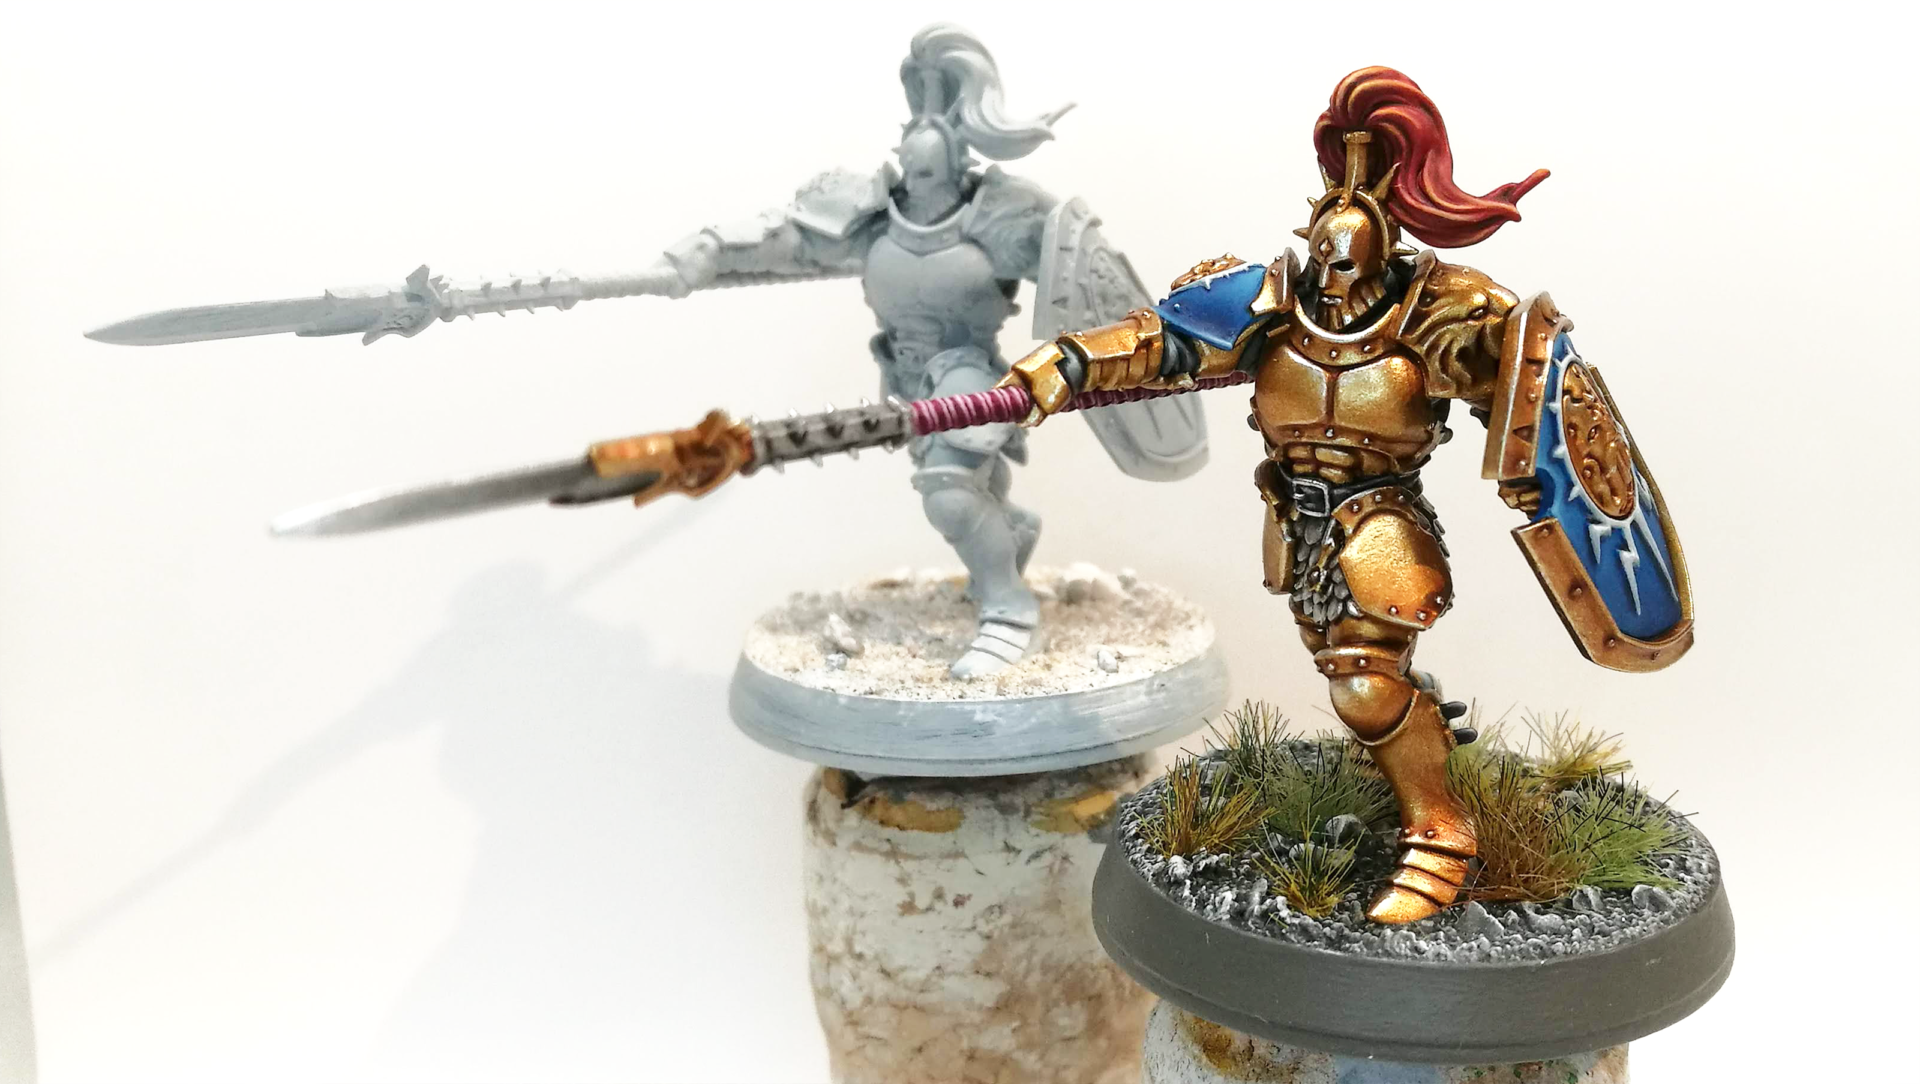
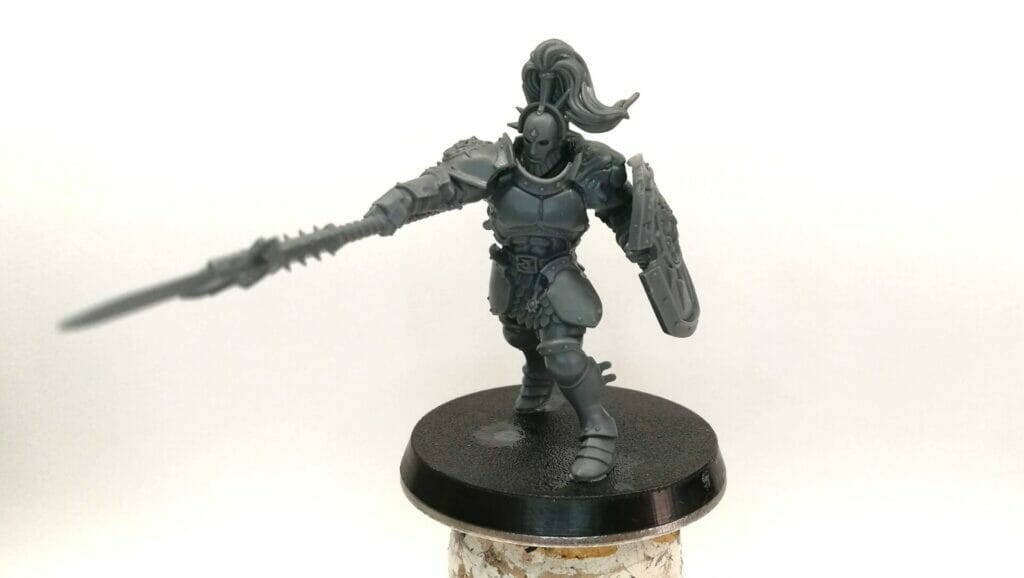
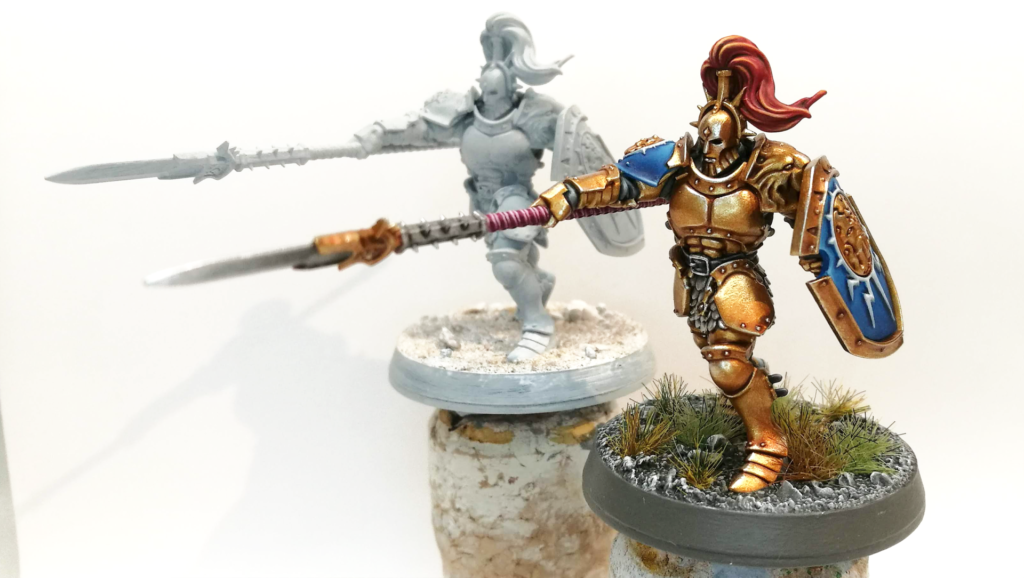
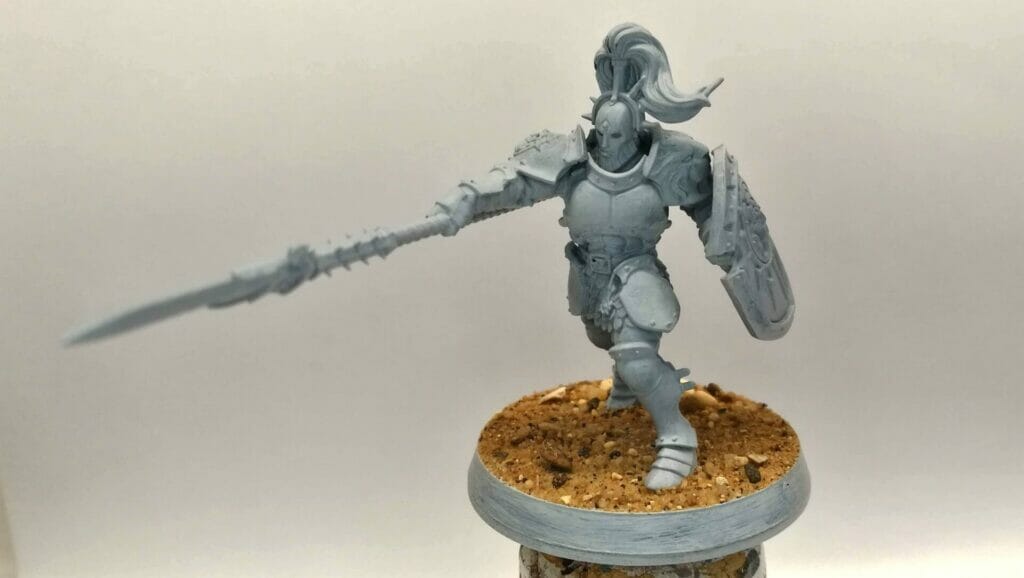
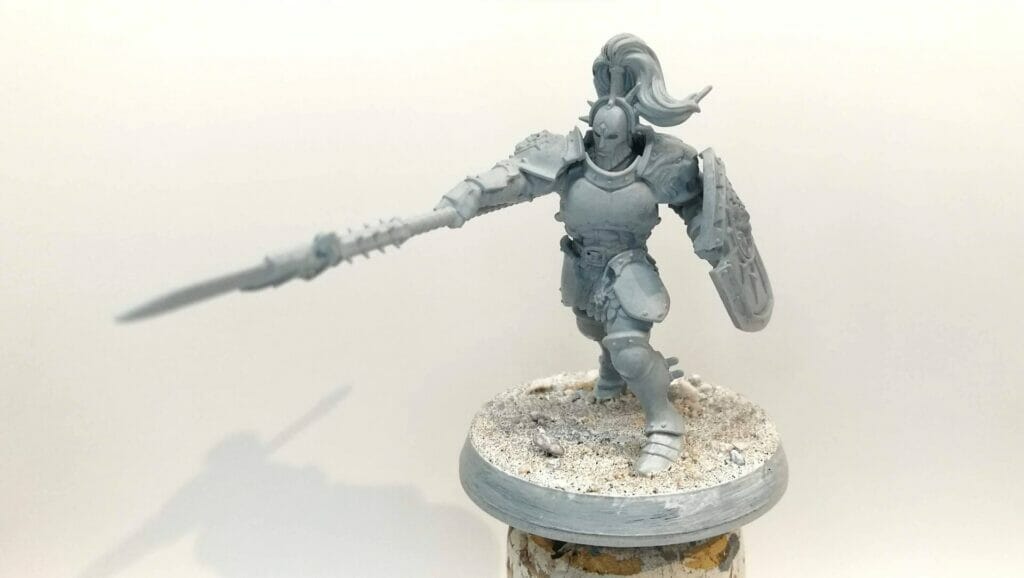
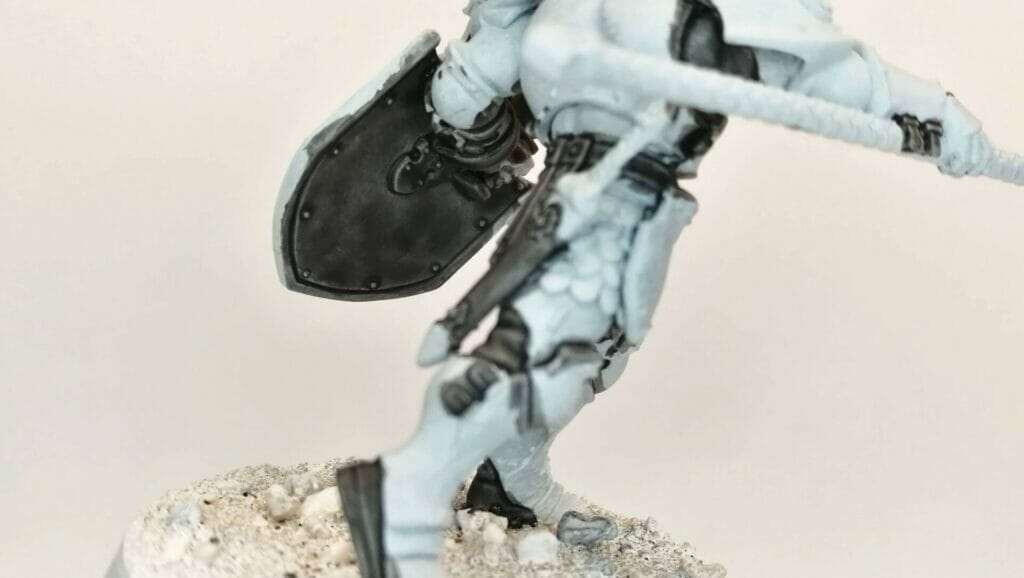
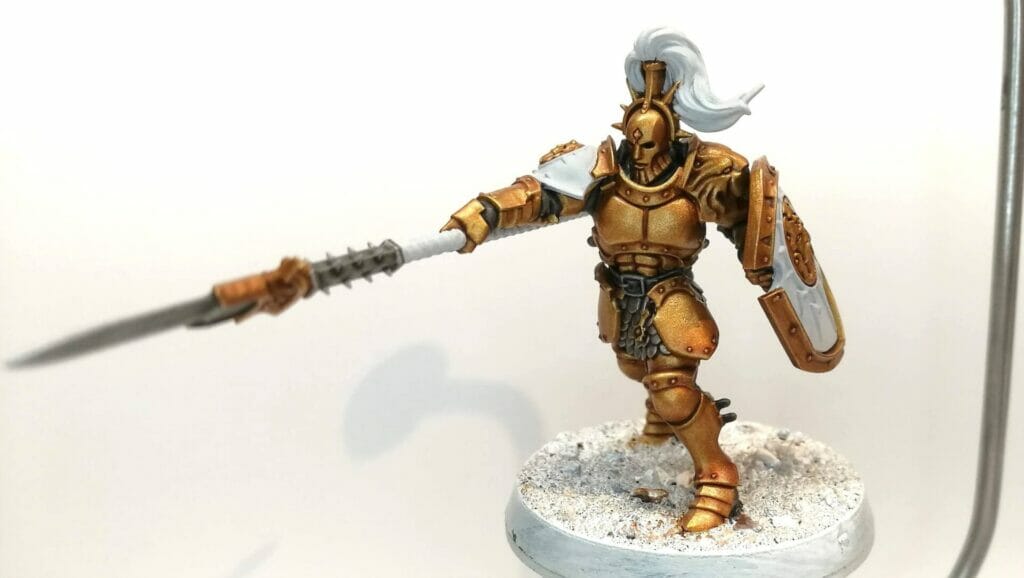
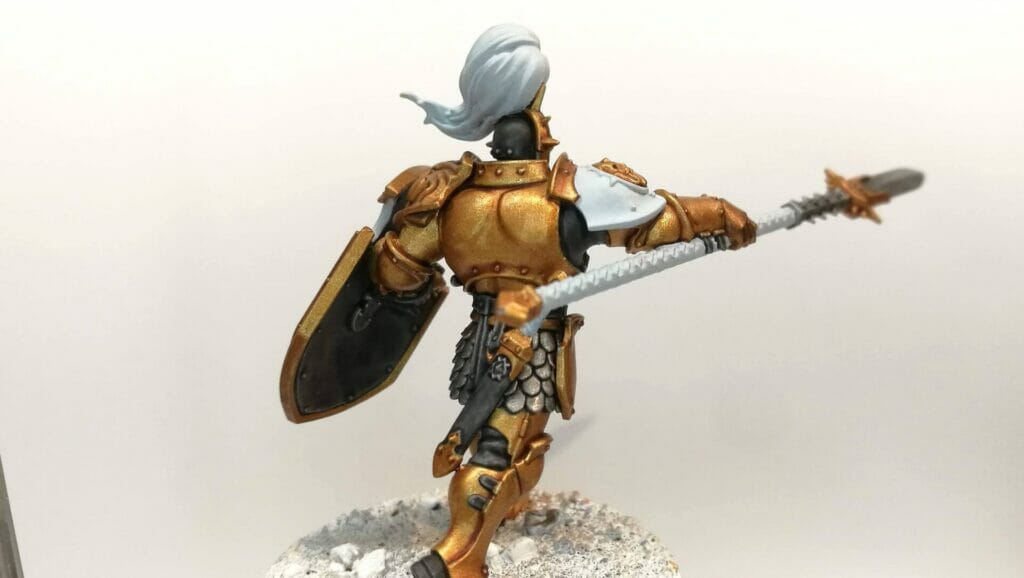
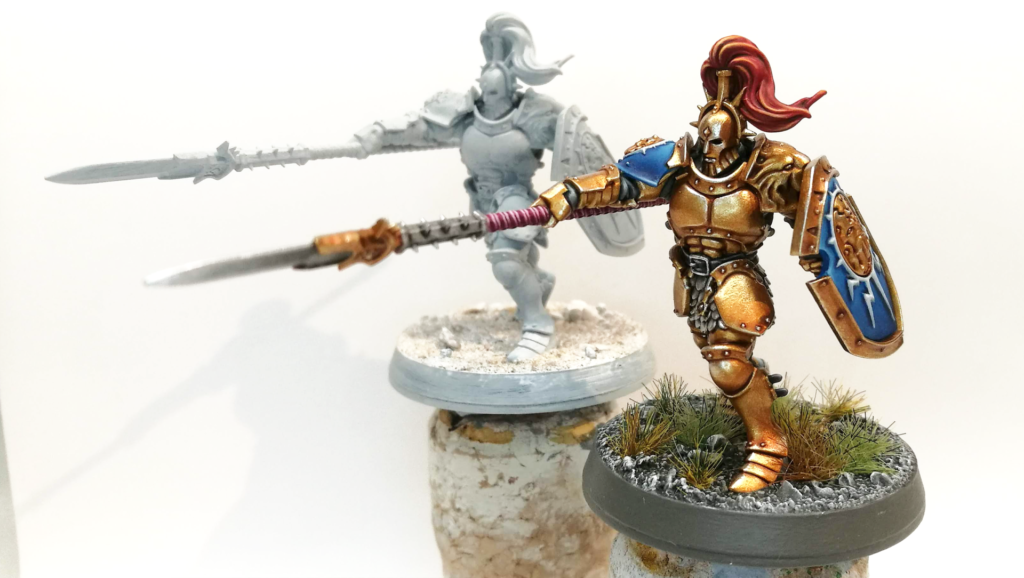
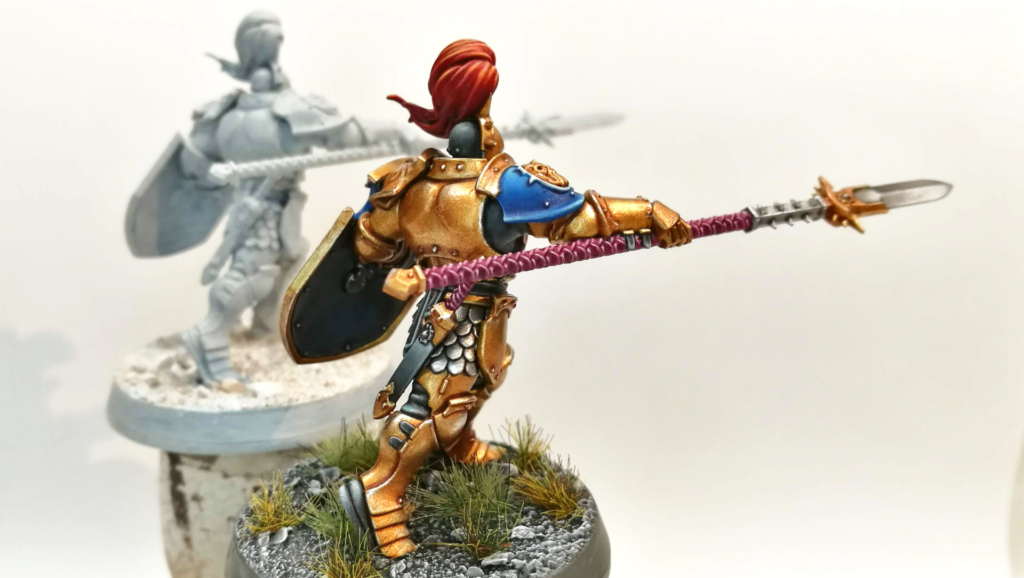
In this step-by-step guide our painting expert, Keith Burden will be showing us how to get from this very naked looking Stormcast Eternal Vindicator…
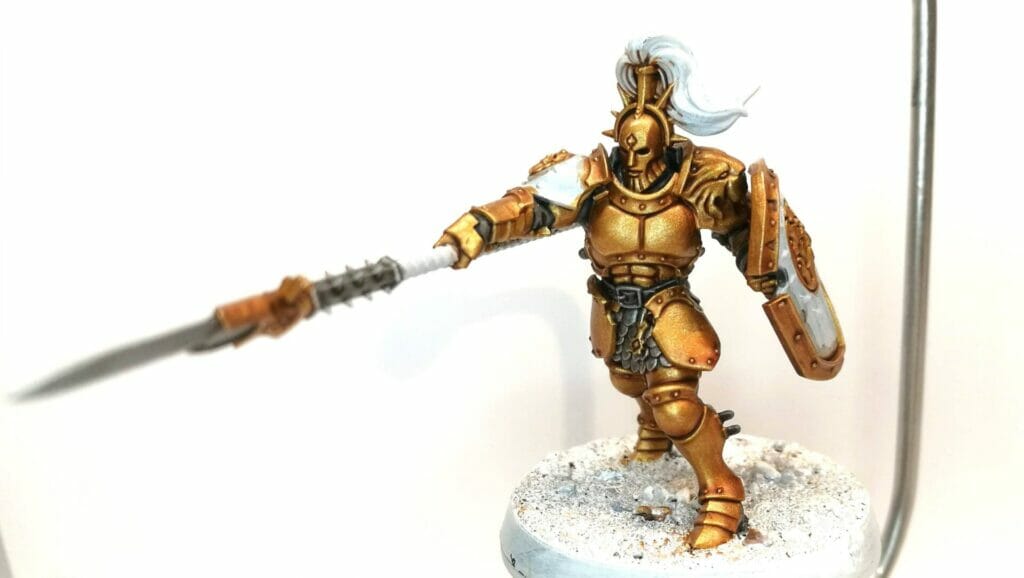
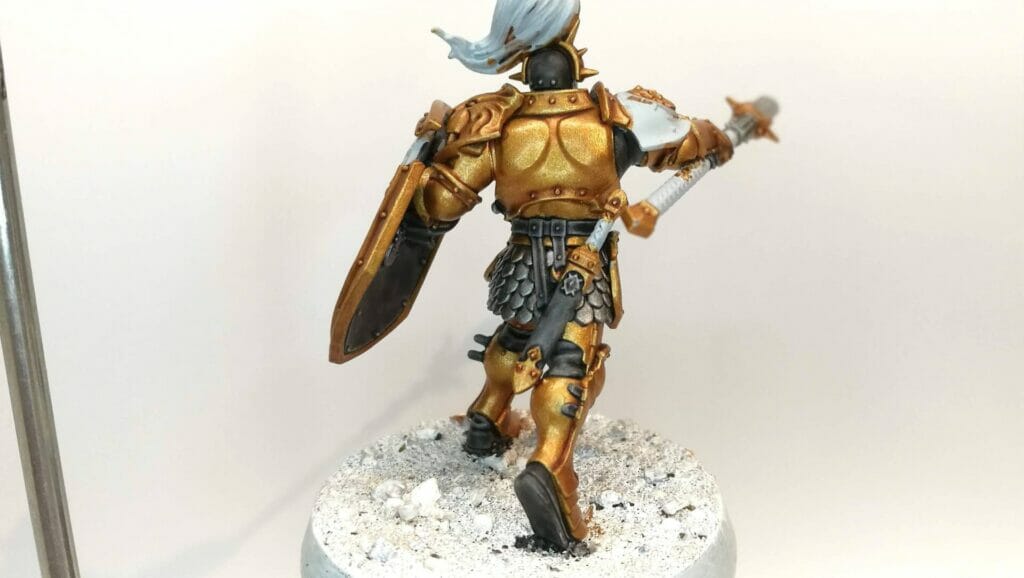
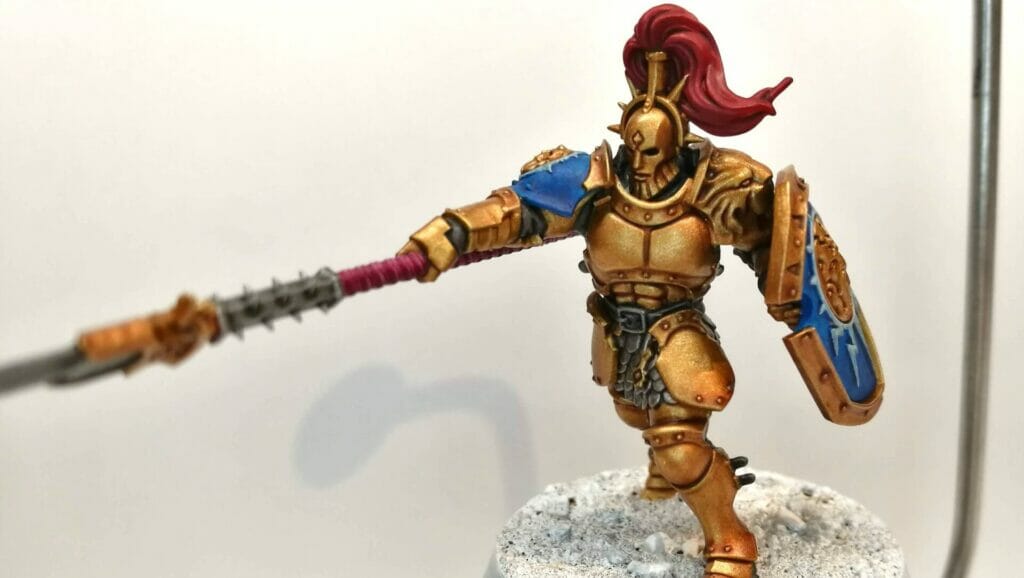
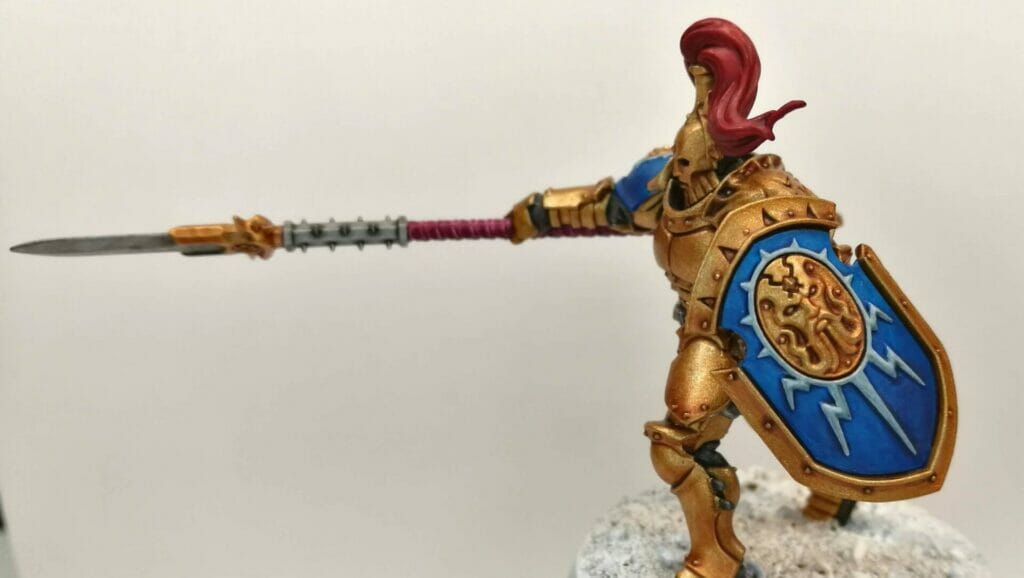
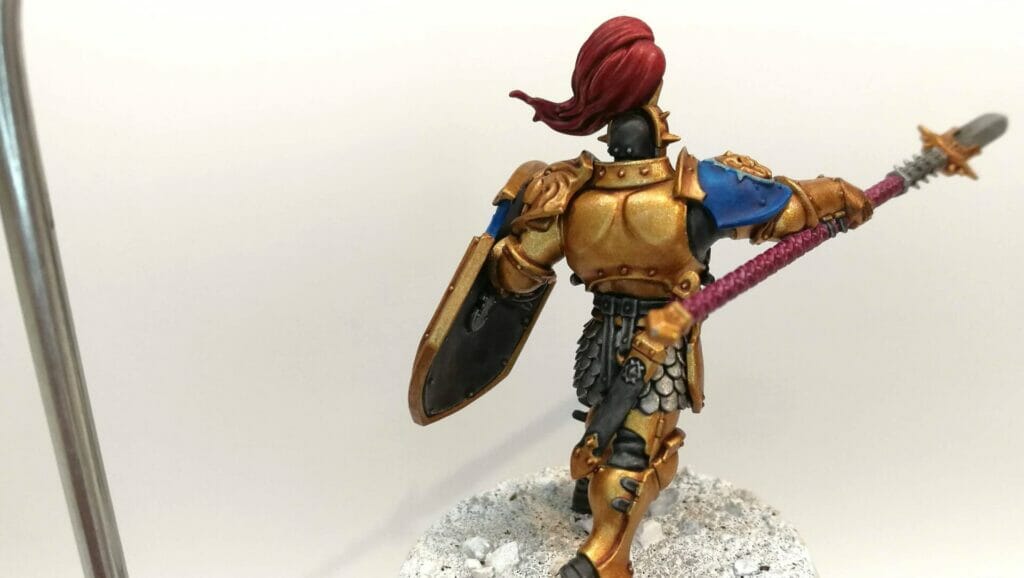
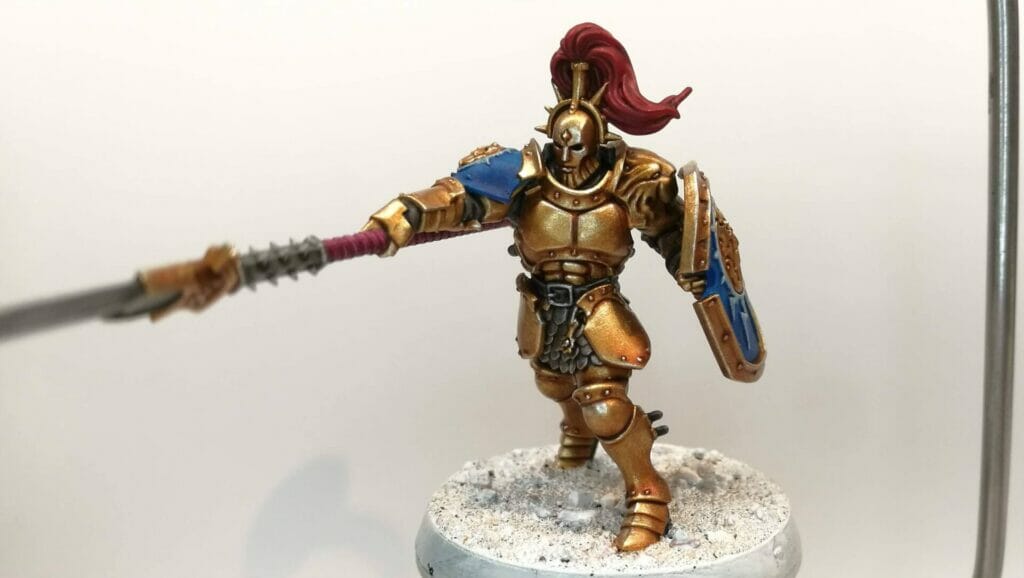
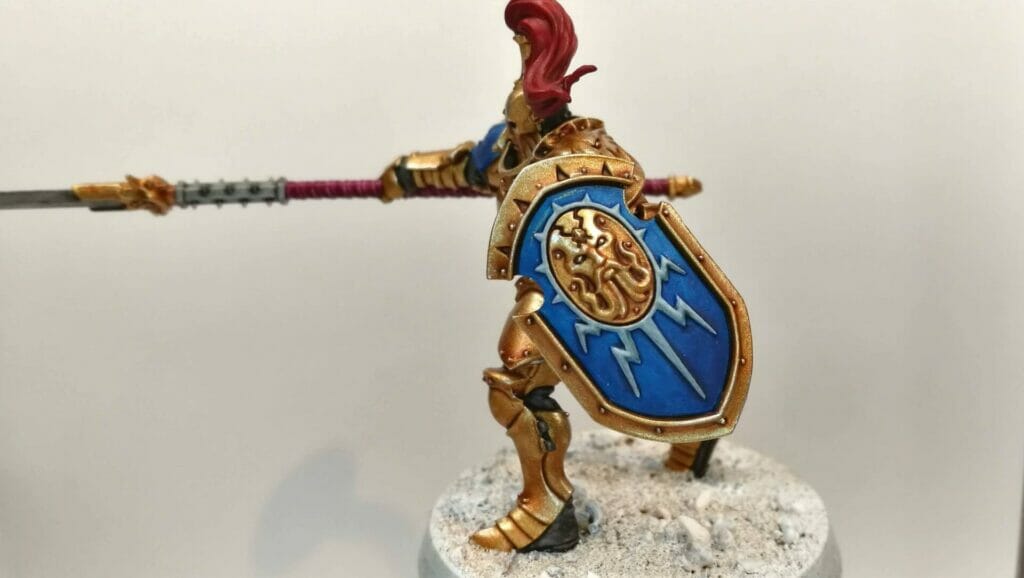
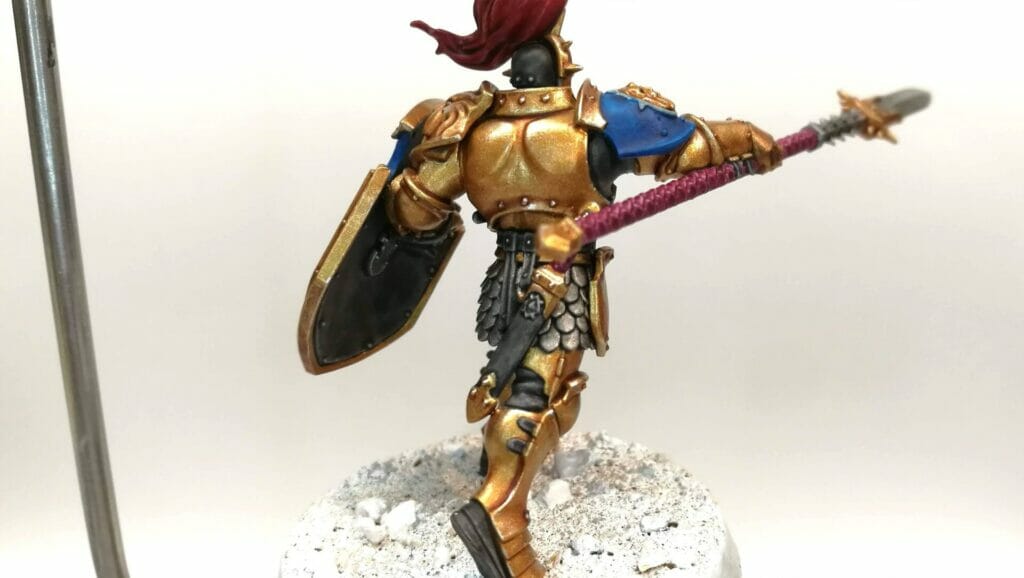
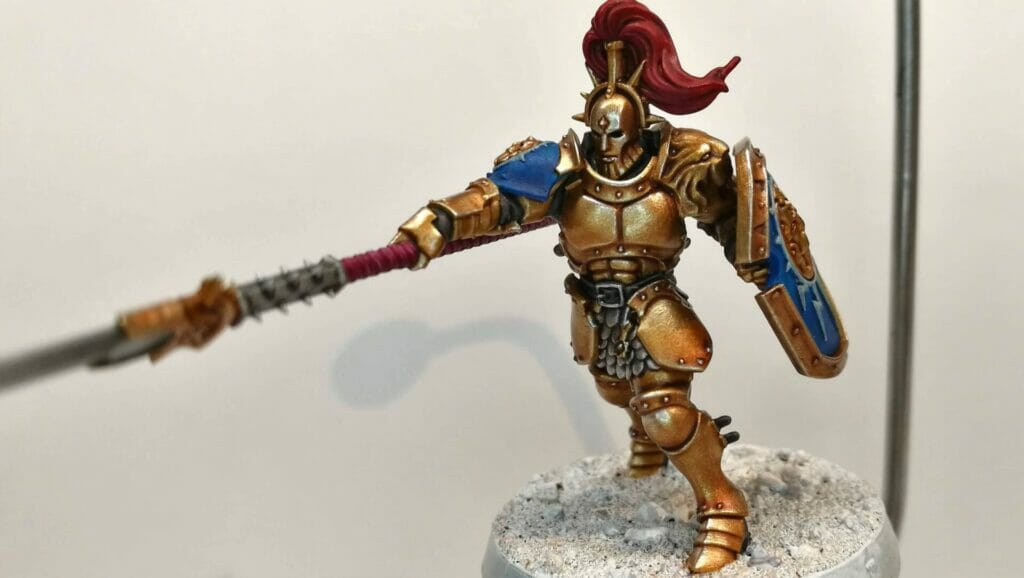
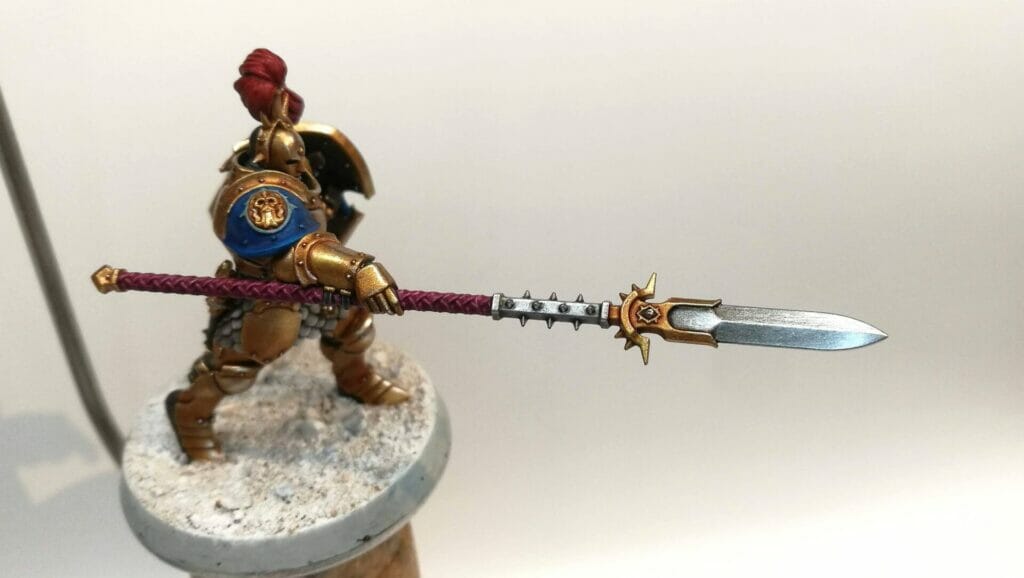
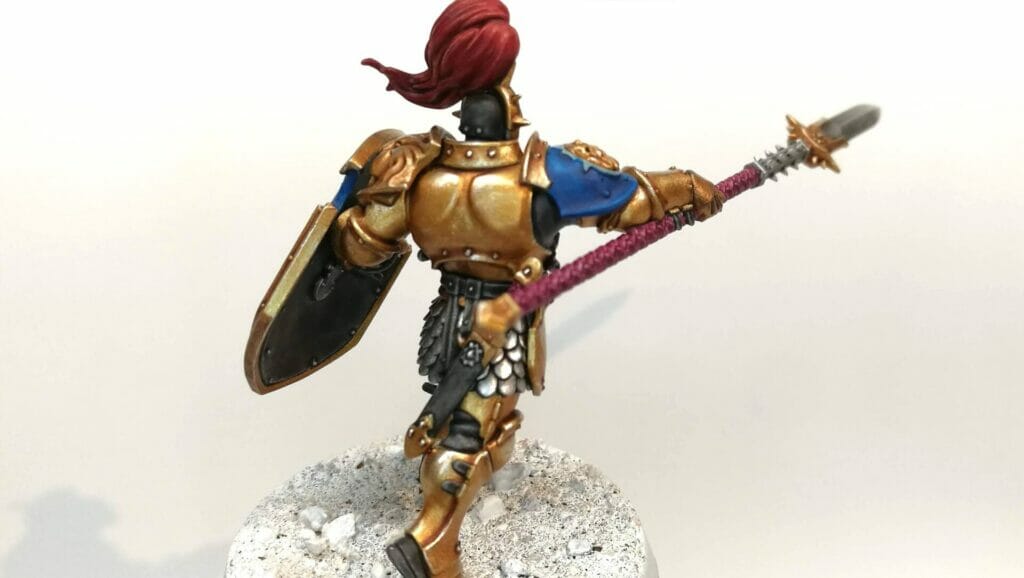
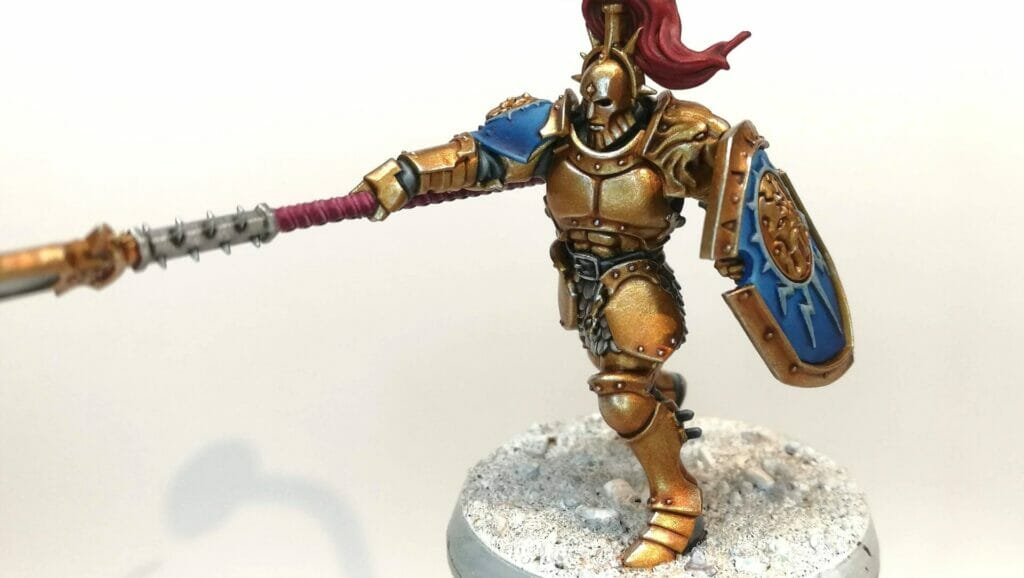
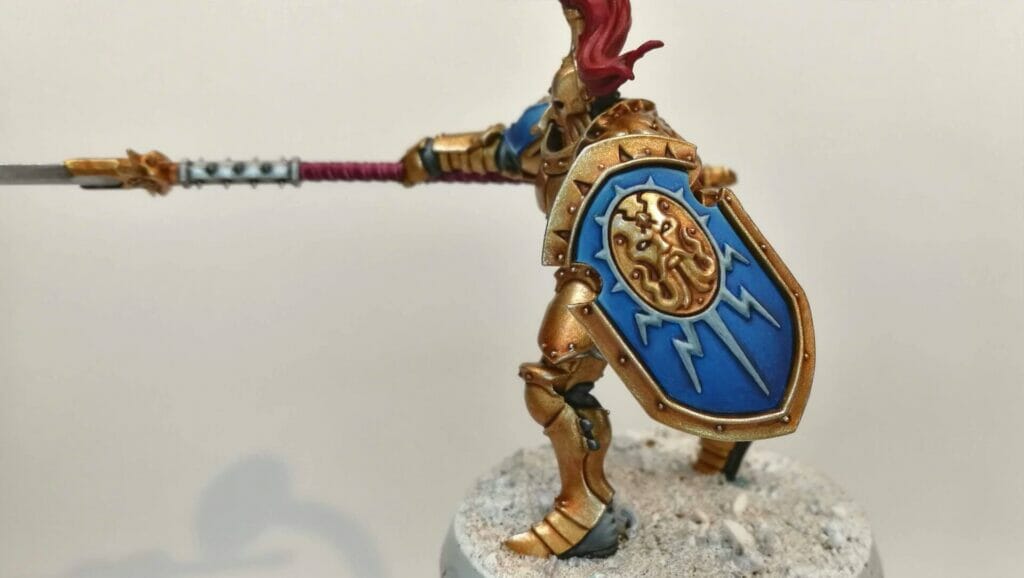
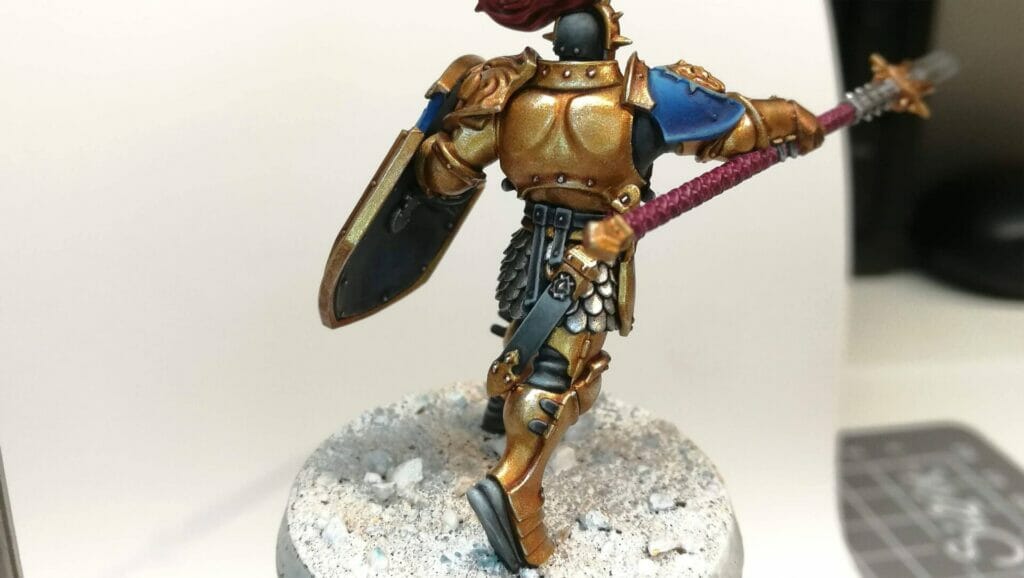
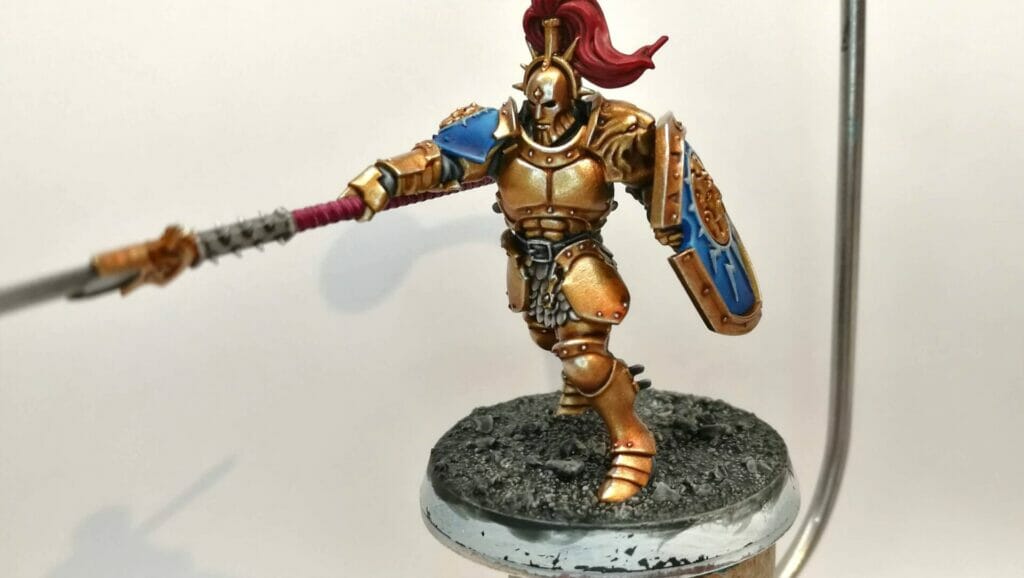
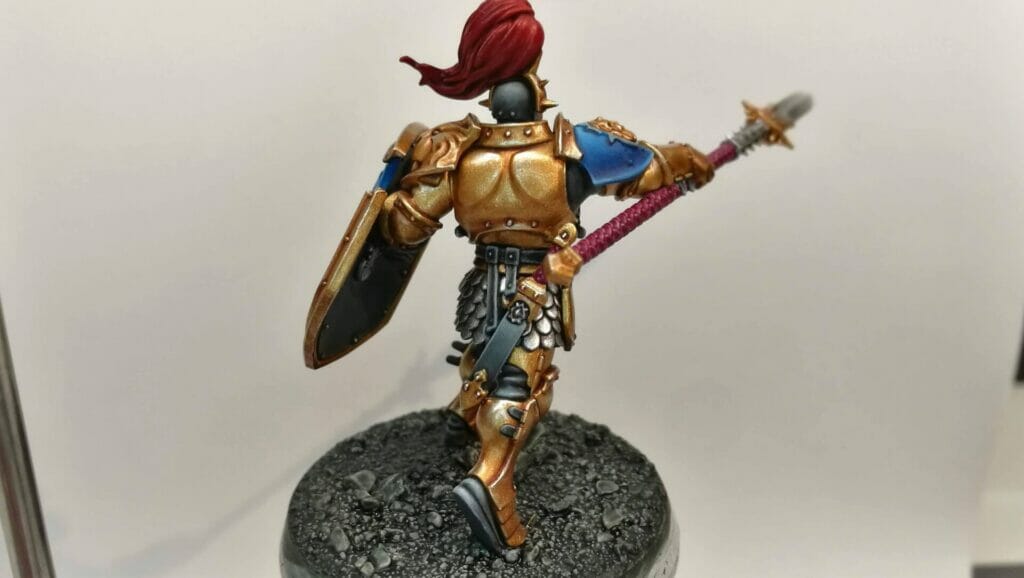
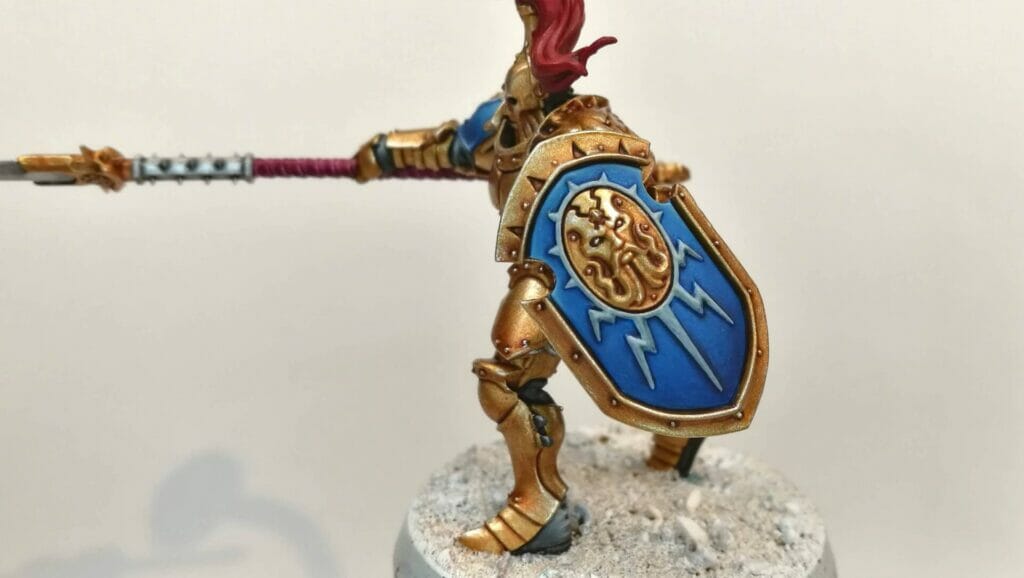
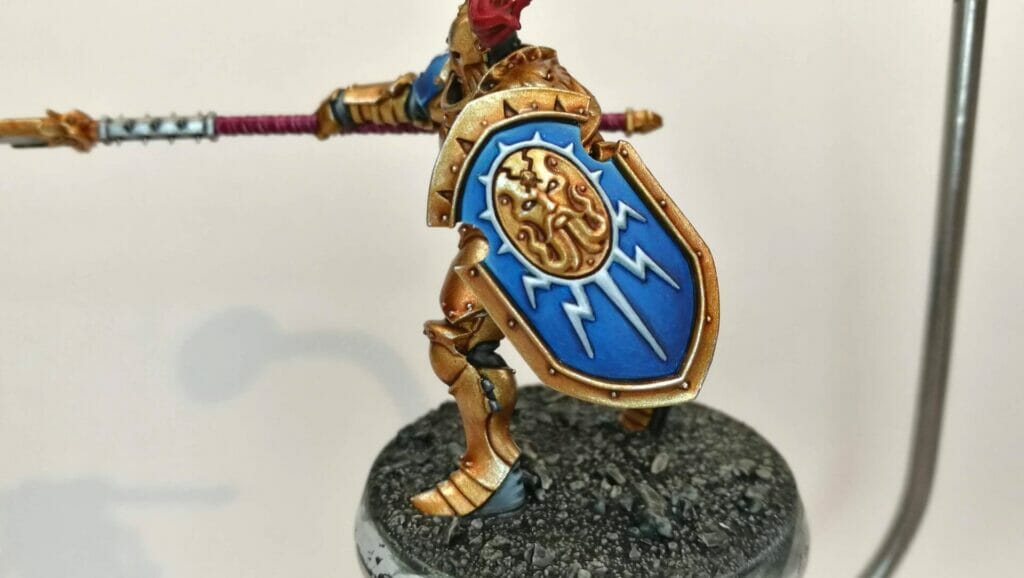
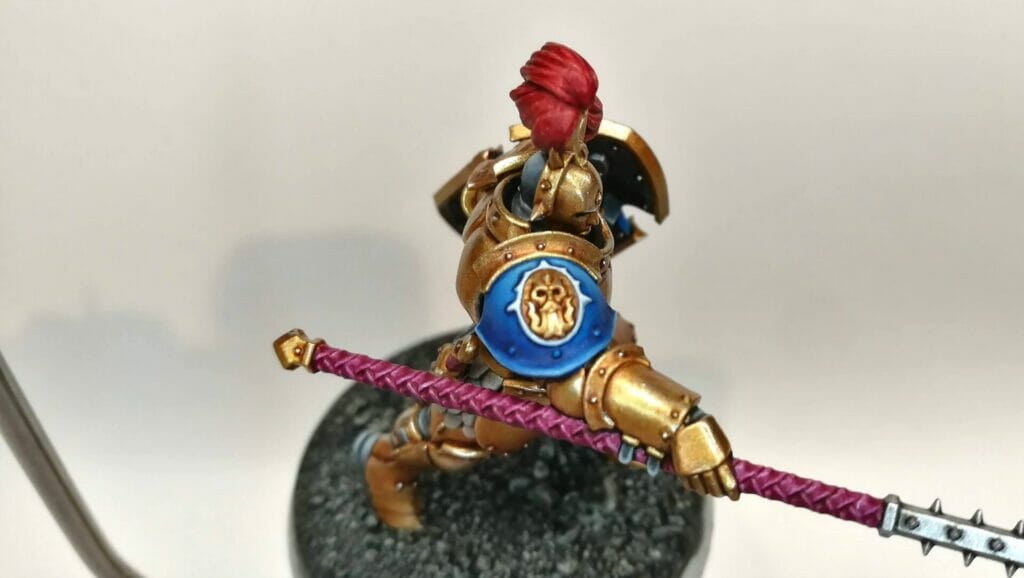
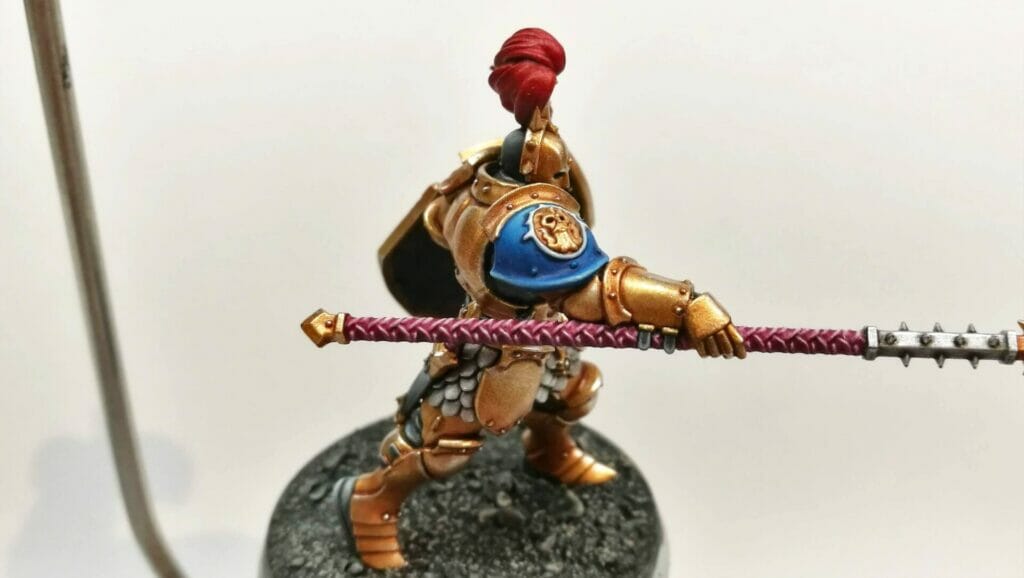
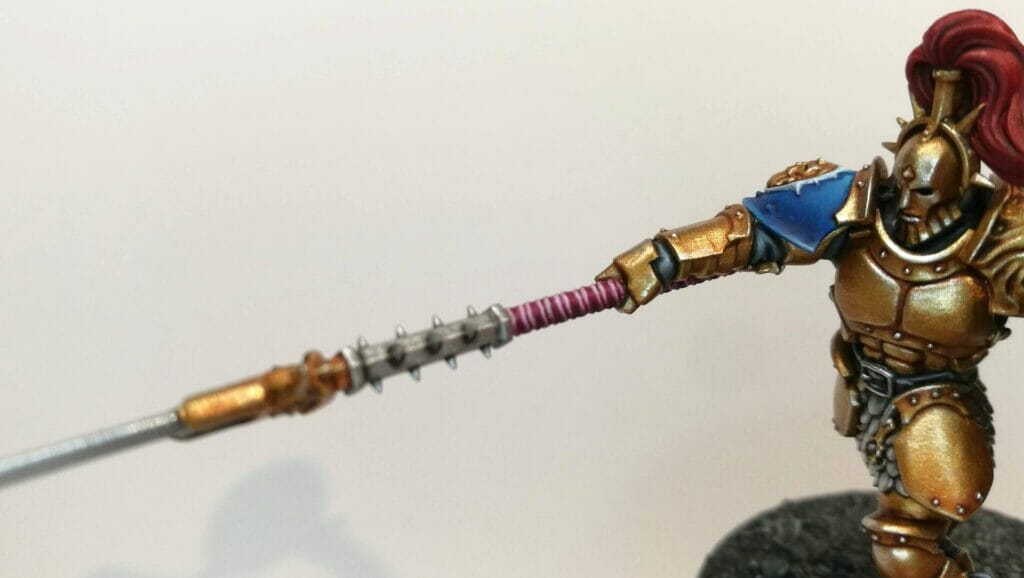
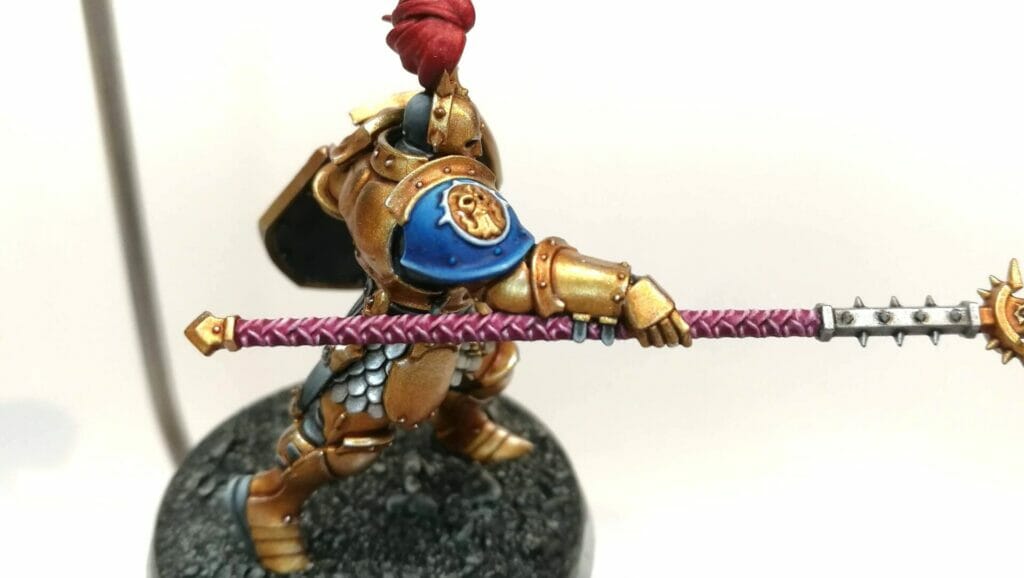
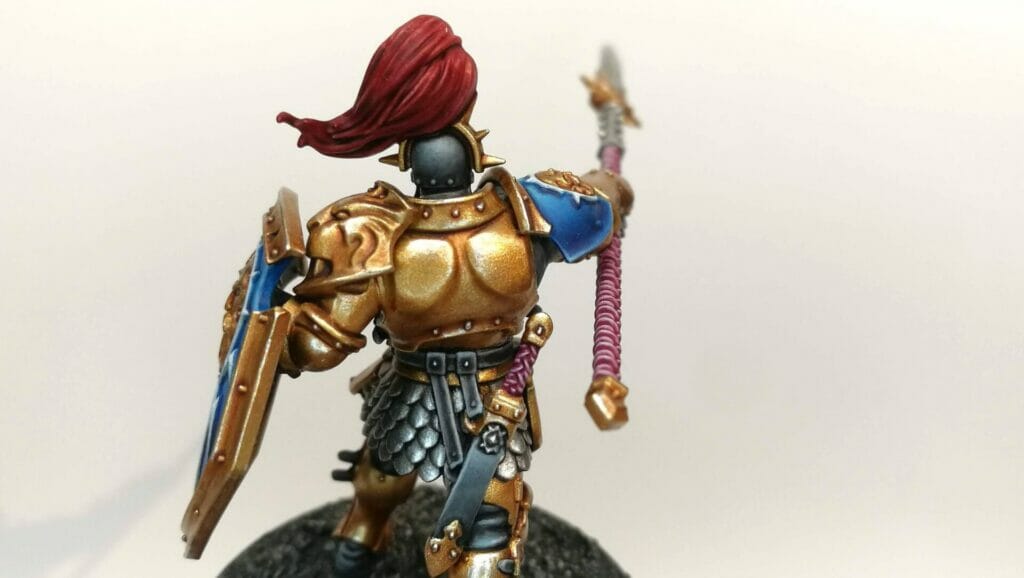
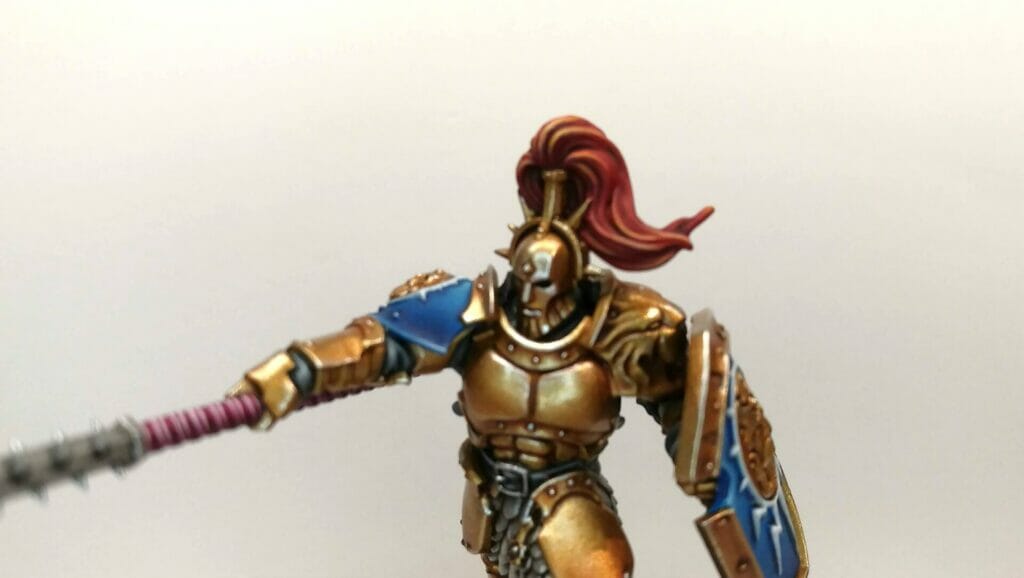
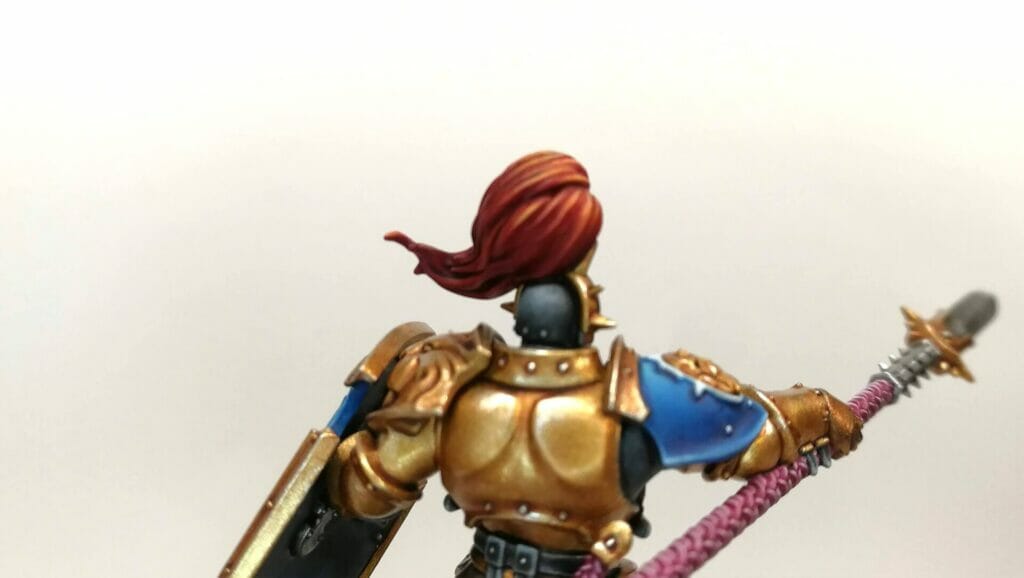
to this, a resplendent model worthy of a display cabinet of their own…
We’ve broken down the process into easy to understand steps. Take your time, be bold and most of all, have fun. If you prefer something a little more visual then we have a tutorial painting video for this model which will be available on our YouTube channel shortly – click here to subscribe and get notified when this is live.
So, twirl those paint brushes to a point, moisten your wet palette, line up your paints and get ready to paint like a pro!
-
Step 1 – Build Your Miniature
Before applying any paint, give your constructed mini a quick wash in soapy water. Using an old soft toothbrush and some washing up liquid in warm water, wash up that miniature. This removes any greasy finger prints or mould release agents. It also helps the primer adhere to the plastic model, eliminating any unwanted peeling of the paint.
This is also a good time to clean up any mould lines and fill any small gaps from the build with liquid green stuff.
-
Step 2 – Prime Your Miniature
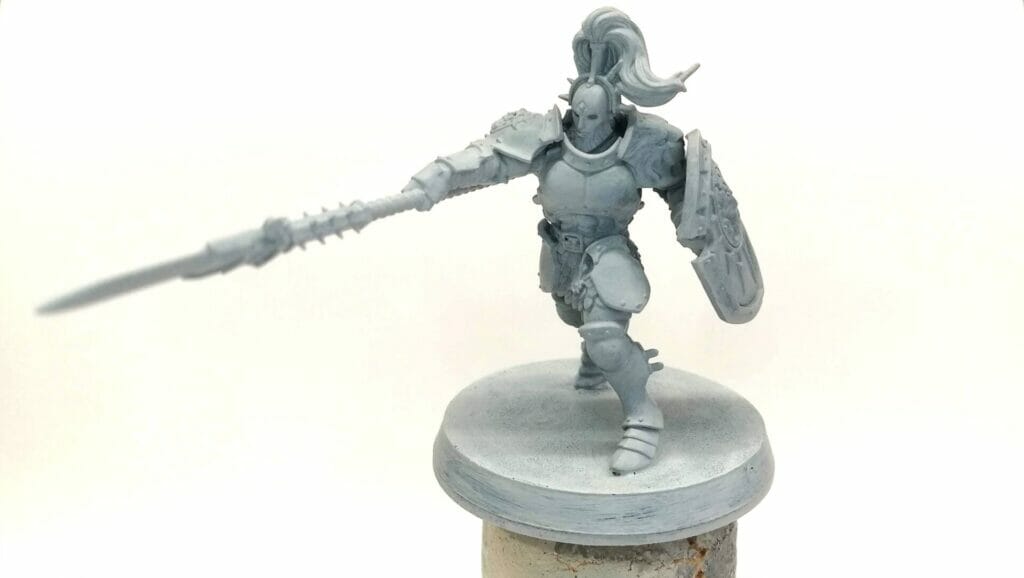
Using a spray can or paint pot primer give your mini a thin primer coat of paint. Primer colour can be a personal preference but, if you’re a beginner we recommend a light primer such as white or grey as it is easier to work with colours on top of this. For this miniature we used Citadel’s Corax White as a base primer colour.
-
Steps 3 & 4 – Prepping & Priming The Base
Coat the base of your miniature in PVA glue and dip the whole base in some sand (I use Sharp sand from Wickes – £2 for a massive bag). Let that dry for about 1-2 hours and then using watered down PVA re-coat the sand. This watered PVA coat fixes the sand in place.
Now you can prime your sanded base, I use white as that makes any base colour really pop.
-
Steps 5 & 6 – Leather Under Armour Base Coat
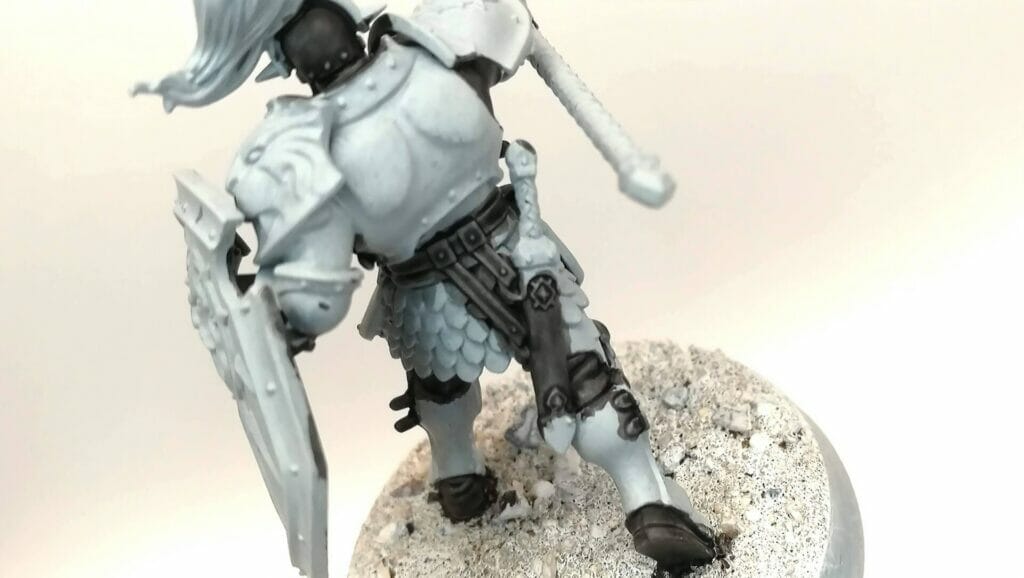
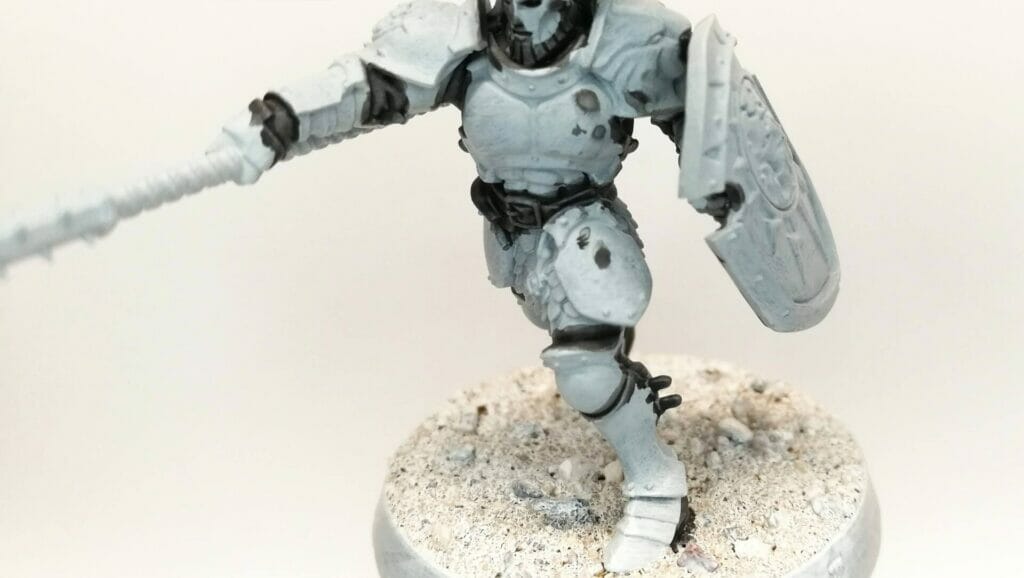
Apply Basilicanum Grey Contrast paint to all the soft leather under armour areas. The Contrast paint will create natural highlights and the deep grey will create lovely recess shading.
Don’t let the paint pool too much and don’t return to a previously painted area until it is thoroughly dry. Contrast paint skins over itself pretty quickly and if you repaint it before it is dry the surface will ‘tear’ and create a patchy finish. Apply 2 coats of Basil grey, letting the first coat thoroughly dry.
-
Step 7 – Metallics
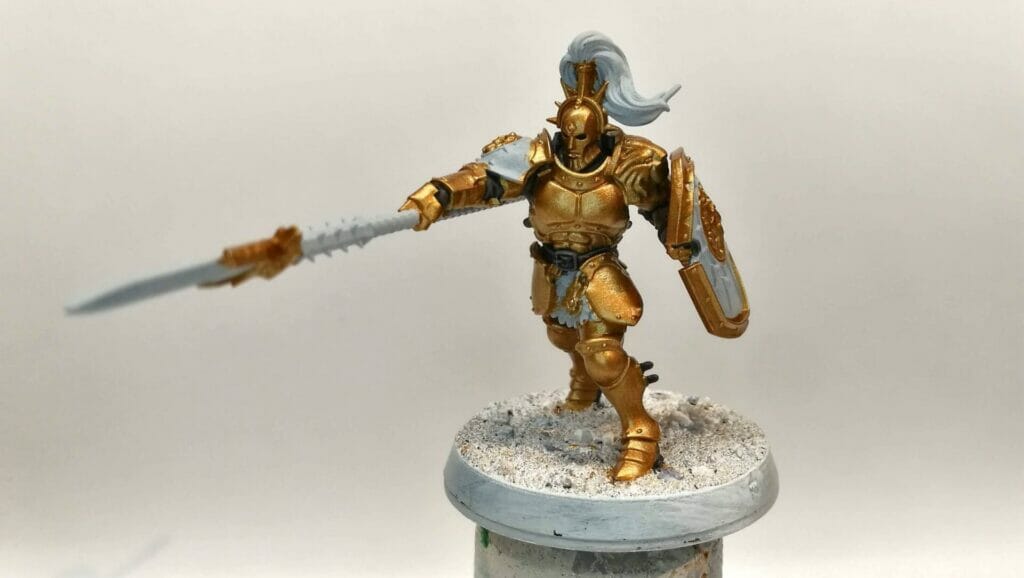
Apply the Gold and Silver metallic base colours. We used Retributor Armour for all the gold areas and Iron Hands Steel or Gun Metal from the Vallejo Metal Color range for the silver areas.
-
Steps 8 & 9 – Shading The Metallics
Shade the gold colours with a 50/50 mix of Reikland Fleshshade and Agrax Earthshade. When that has dried apply a second coat of your Reikland/Agrax mix into the recess of the miniature. Shade the Silver areas with a 50/50 mix of Nuln Oil and Nuln Oil Gloss. When that coat of wash has dried apply a second coat of pure Nuln Oil into the silver area recesses.
-
Steps 10 & 11 – Second Prime
Re-apply the base primer colour to all of the none metallic and grey areas of the miniature. Best not to use a spray on this occasion though – just some thinned paint straight from the bottle will suffice. I call this a Corax Clean 😊. So a thin coat of the original Corax white onto all the areas that might have gotten over painted with Basil grey or the metallics. Whilst you’re there, do the same to the base.
-
Steps 12, 13 & 14 – Red, Blue And Purple
Apply the red, blue and purple Contrast colours. We used Volupus Pink for all of the weapon handles, Fleshtears Red for the helmet plume and a 2/1 mix of Talassar blue/Ultramarine blue for the blue areas. Once dry, enrich each colour by added a drop of water to each colour and give each area a thin glaze of the watered-down Contrast Paint. This will clean up the solidity of each finish.
-
Steps 15, 16 & 17 – Gold Highlights
Now it’s time to highlight all the gold areas. The first highlight is Retributor Armour thinned with a little Vallejo Flow Improver. The flow improver helps your paint retain its fluidity for longer making it easier to get nicely graduated highlights.
Sweep your highlights to a naturally light edge or area and retain a shaded volume. Slowly add a little Vallejo Metal Color Chrome (or Stormhost Silver if you can’t get your hands on any Chrome) to your gold highlight colour and gradually lighten your gold areas. Reduce the area of coverage with each addition of silver until the final edge highlight of pure silver is only on the very edges of the armour panels.
-
Steps 18, 19 & 20 – Silver Highlights
To highlight the silver start with Runfang Steel plus a drop of Vallejo Flow Improver and apply a thin highlight to all of your silver parts. Just like we did with the gold highlights, gradually add Vallejo Model Color Chrome (or StormHost Silver) to your highlight mix until the very edges are pure silver.
If your gradients start losing smoothness, never fear. Simply take your base metallic colour of Iron Hands steel and some flow improver and paint a very thin glaze between the highlight steps.
-
Steps 21, 22 & 23 – Leather Highlights
Now it’s time to highlight the leather under armour parts that we painted in steps 5 & 6. Start with Mechanicus Standard Grey and a glazing medium so you have a 1 part paint to 2 parts medium mix. We used Vallejo Glaze Medium for this model but Citadel’s Lahmian Medium works just as well. Alternatively you can just water (clean water though – don’t go slopping water out of that dirty brush cleaning pot!).
Apply the Mech Grey & glazing medium mix to all the leather areas. Then create a second highlight layer using a Dawnstone and glazing medium mix at the same ratio and continue to highlight. Then do the same with Administratum Grey and finally pure white. Each time you should reduce the area of highlight as you apply each lighter colour using Administratum Grey for edge highlights and white for corners.
Finally, create a filter glaze using Akhelian Green + medium (a tiny amount of paint to medium as this is merely a filter colour to re-saturate the desaturated greys). This should be a very, very thin glaze filter.
-
Steps 24, 25 & 26 – Blue Highlights
To highlight the blues start with a thinned mix of Talassar Blue, Caledor Sky and medium (Vallejo or Lahmian). Create a thin layer and paint over at least 75% of the blue areas, concentrating on highlight areas. Then use pure Caledor Sky and medium as a layer highlight with the same 1:2 mix ratio as you used for the leather. You want to progressively add Baharroth Blue to the highlight mix and reduce the highlight area and then use pure Baharroth Blue on just the edges. For final spot highlights and very sharp edges add a touch of white to the Baharroth mix.
-
Steps 27, 28 & 29 – Whites
The white areas might have gotten ‘bumped’ by the blue so rebase them all with Corax, then apply a shade of Apothecary White Contrast paint. Then in the deepest recesses add a touch of Nuln oil to your Apoth White and shade the deepest details. Now create a thin Corax white mix using your medium and bring out all of the details. Then take your favourite brand of pure white and add edge highlights. On the model we painted we used some white Daler Rowney Ink for very sharp edge highlights and spot highlights as a final touch.
-
Steps 30, 31 & 32 – Spear And Side Arm Highlights
To highlight all of the strapping on the spear and side arm handles apply a layer highlight using Emperors Child. Paint clean solid lines on all of the sharpest highest strap edges and once dry take some Fulgrin Pink and apply a smaller highlight to all of the strap edges. Add a dash of white to the Fulgrin for very highest/sharpest edges. Then in the recesses glaze in Shyish Purple contrast paint using a super thin mix of Shyish Purple and medium. Use this glaze a few times to darken down shaded areas and recesses.
-
Step 33 & 34 – Helmet Plume
The first highlight colour is Evil Sunz Scarlet. Draw highlights to the top area of the plume making sure you thin your paint with a medium or water. Then add some Vallejo Fluorescent Orange to the Evil Sunz mix.
Initially this colour addition will be very subtle as Vallejo’s Fluorescent Orange is a very thin paint. However after a few applications the bright orange will start to push the vibrancy of the red. When your highlights are a strong orange colour add a touch of Yriel Yellow to the mix and carefully add reduced area highlights. When you are using pure Yriel yellow as a highlight add a tiny touch of Dorn Yellow for the sharpest hair tips and spot highlights.
-
Steps 35, 36 & 37 – Finishing
Check the model for unpainted rivets and give them a touch of Vallejo White Alloy. Alternatively Vallejo Chrome or some Silverhost Silver will work.
Finish the base. For our model we used a base colour of Stormvermin Fur which was then drybrushed with White scar. The rim was painted with Stormvermin Fur and then cut down tufts were applied.
Finally, stand back, tilt head and admire your handywork and the new centre piece of your Stormcast Eternal army.
Thanks for taking the time to read this How To Paint guide, and a big thank you to Keith Burden for this fantastic breakdown of his painting process. Let us know in the comments what models you’d like to see us create a guide to next and in the meantime, happy painting and remember… Thin. Your. Paints.
